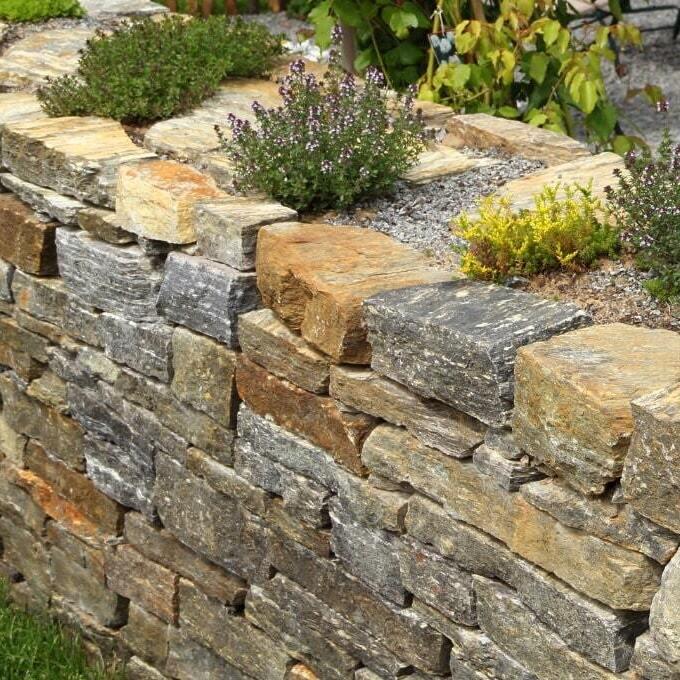
There’s something charming about garden walling. The way it raises flowerbeds, partitions seating areas and injects a rustic elegance, all in one fell swoop, is admirable. And they’re not too difficult to build yourself, either.
That’s where we come in. With our in-depth how to build garden walls guide, below, we walk you through every step of the garden walling process; from laying foundations to stacking in a stretcher bond pattern.
Let’s get started.
Lay the foundations
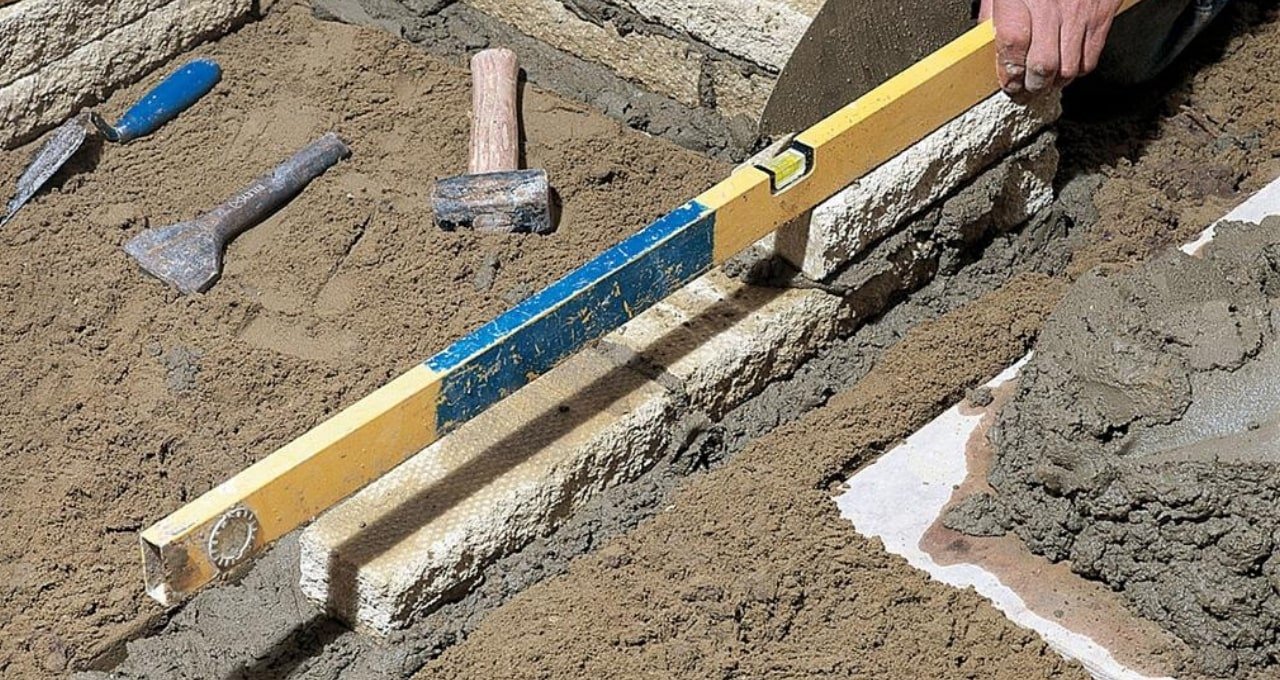
It doesn’t matter whether it’s 4ft high or 40ft high, every wall needs a solid foundation to stand the test of time. Thankfully, laying a wall foundation is much easier than you’d think.
All you need to do is follow our instructions, below.
What you need to lay the foundations for your garden wall:
How to lay the foundations for your garden wall:
- Using wooden pegs, mark out the line and position of where you want to build the wall.
- Then, you need to dig out a trench for your foundation along that line. If you’re wondering how deep your foundations need to be for your garden wall, it should be between 1/4 and 1/3 of the walls height and the foundation width should be two or three times the width of the wall. TOP TIP: If you plan on building a retainer wall higher than 600mm, we advise that you speak to an expert first.
- Tamp the trench flat, using a spirit-level to check that the ground is even.
- Now it’s time to fill the trench with the concrete foundation. For this, mix 6-parts ballast to 1-part cement in a wheelbarrow and then add enough water for the mixture to be pourable and easy to level out.
- Pour the concrete mixture into the trench, filling to the brim. Then, tamp it down to keep it even and remove any air bubbles that may have formed.
- Check that your foundation is flat with the spirit-level and then leave to dry for at least 24 hours.
Build up your wall
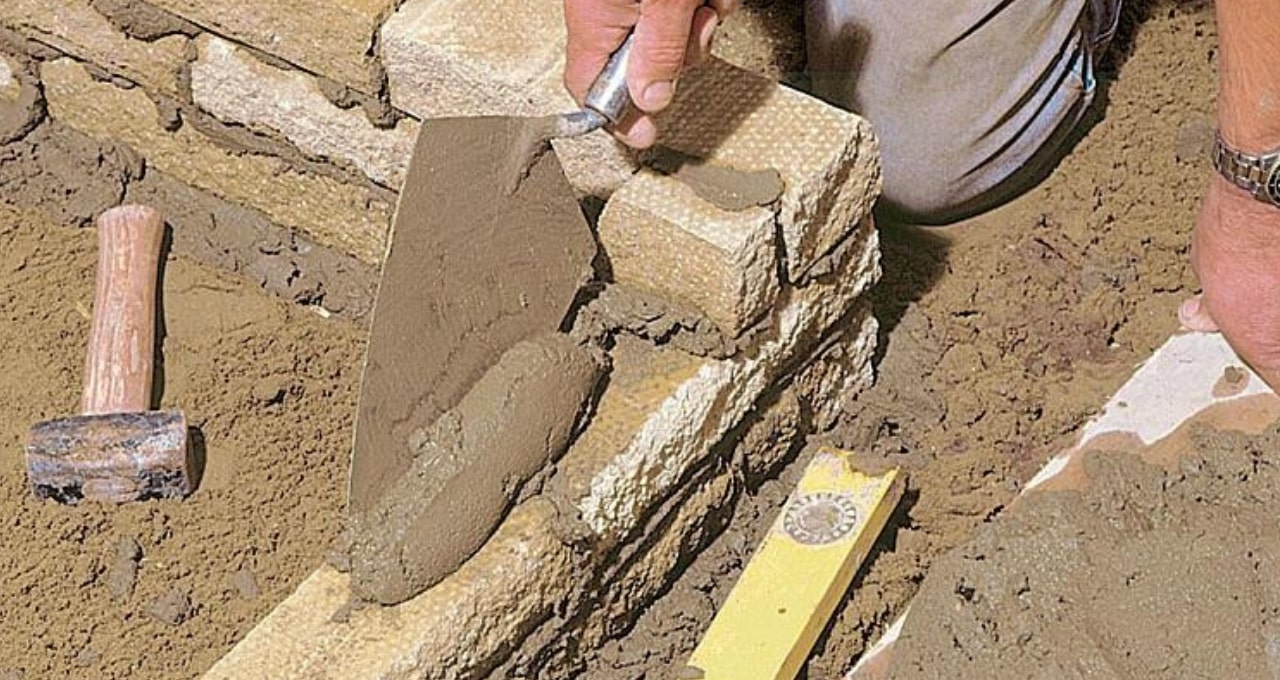
With the concrete set and your foundation secure, you can finally get to the meat of the project; building your garden wall from the ground up.
Continue reading, below, to find out the basics of brick-laying in your garden.
What you need to build your garden wall:
- Your garden wall blocks of choice
- String
- Building sand
- Cement
- Trowel
- Rubber mallet
- Spirit-level
- Coping stones
How to build your garden wall:
- To begin, dry lay your first course of blocks to see where they sit on your garden wall foundation. If you find your blocks do not fit the structure, you will need to cut (see our guide for more info) and dry lay again until they fit neatly.
- Then, using the string, set up a taut building line that stretches from one end of the foundation to the other. This string line will act as your guide for both the alignment and level of your wall blocks.
- As per our mixing mortar guide, mix 4-parts building sand to 1-part cement. You want this mixture to be stiff enough to secure the walling but also malleable to make it easier to work with.
- Spread the mortar evenly over the foundations with a trowel and then apply mortar to the footing of your first block – this double application of mortar ensures the structure is secure.
- Place the block into position on the foundation, using a rubber mallet to gently tap the block securely into the mortar. Repeat this process to complete the first course of blocks, filling the vertical joints between each block with mortar to bind them together.
- Before proceeding with the next course, ensure the blocks are level with a spirit-level and make any necessary positional adjustments.
- The next course of blocks should be laid identically to the first except in a stretcher bond pattern. This means every alternating course is offset by a measurement of half a block at both ends of the wall. Those gaps are then filled by cutting a block in half and then applying them to each end of the course.
- Repeat this alternating stretcher bond pattern until you’ve built the wall up to your desired height.
- Now for the all-important finishing touch; coping stones. Lay these carefully so that the vertical joints of your wall are completely covered by the coping stone topper.
- Step back and admire your handiwork – job done!
Feel ready to get started on building a garden wall? Head over to Simply Paving and take a look at our stunning range of garden walling products, or if you have any more questions then get in touch with us on 0800 032 6306 or start a live chat.


