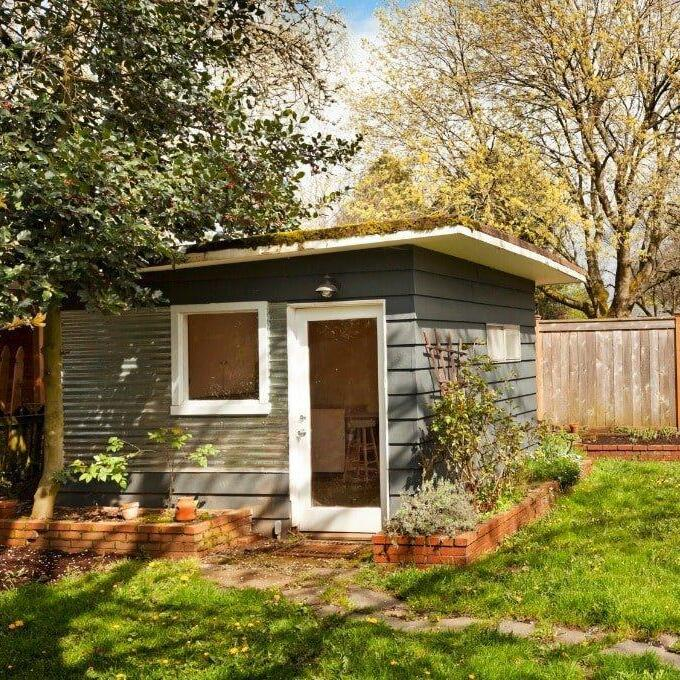
Have you been eyeing up a garden shed but don’t have a concrete mixer to lay your base? Don’t worry – paving slabs will do the job just as well. Plus, they’re far more economical in the long-run.
But what are the tricks to laying a good quality paved shed base? Read below for our expert tips; you’ll be a landscaping pro in no time.
What you need
- Measuring tape
- Wooden pegs
- A roll of string
- Shovel or spade
- Trowel
- Mallet
- Garden rake
- Hard-bristled brush
- Tamping tool
- Spirit level
- MOT type 1 hardcore
- Sharp sand
- Jointing compound
- Wheelbarrow (for the hardcore)
- Earth rammer/plate compactor (you will need to rent these)
- Tarpaulin (optional)
Like any large structure, sheds require a solid foundation; this prevents unexpected structural issues from occurring later down the line.
For sheds, this means divorcing any contact with soil (as this can lead to warping and rotting of the wood) and building only on even ground (to avoid unnecessary strain on the sides of the shed).
Want more guidance on where to prep your paving shed base? Read our six easy steps, below.
How to prepare a paving slab shed base in your garden
- Firstly, get your measuring tape out and gauge where your shed could realistically fit in your garden. You will want to check that the land is even during this point (a slight slope is fine but steer clear of bumpy and mounded ground), and consider other potential issues, like overhanging trees and unstable soil.
TOP TIP: If you’re unsure which type of soil in your garden is best for use under your shed, try to find a happy medium between very soft and very rocky soil. Soft soil could cause paving slabs to shift and sink over time, while rocky soil will be difficult to move out.
TOP TIP: Don’t forget to examine your garden’s drainage channels before choosing a shed position. If you install a shed base on paving slabs at a low point of your garden, rainwater will have nowhere to go. This could pool up and cause flooding and instability issues.
- Once you’ve found the perfect spot for your shed, size out your base using wooden pegs and string, allowing an extra 20cm space on all four sides. To make sure your four corners are equidistant, you should measure across the area diagonally. If both diagonal measurements match, you’ve mapped out an equal space.
- Clear away anything within your marked-out area that could cause paving slabs to lift, such as surrounding vegetation.
- Now you can start digging. Shovel around 120mm off the top layer of soil across the entire area; this ensures you have enough room for the hardcore (50mm), sand (approx. 10mm), mortar (30mm) and paving slabs (approx. 30-35mm; check paving slabs thickness beforehand).
- Once you have excavated your earth from the area, take out the wooden pegs you used earlier and knock them into the freshly dug soil, leaving 50mm above ground. This will be the level for your hardcore.
- Finally, tamp the area with your tamping tool so that the remaining soil is firm. Your shed’s foundation is now fully prepped and ready for you to lay your sub-base.
Laying your sub-base
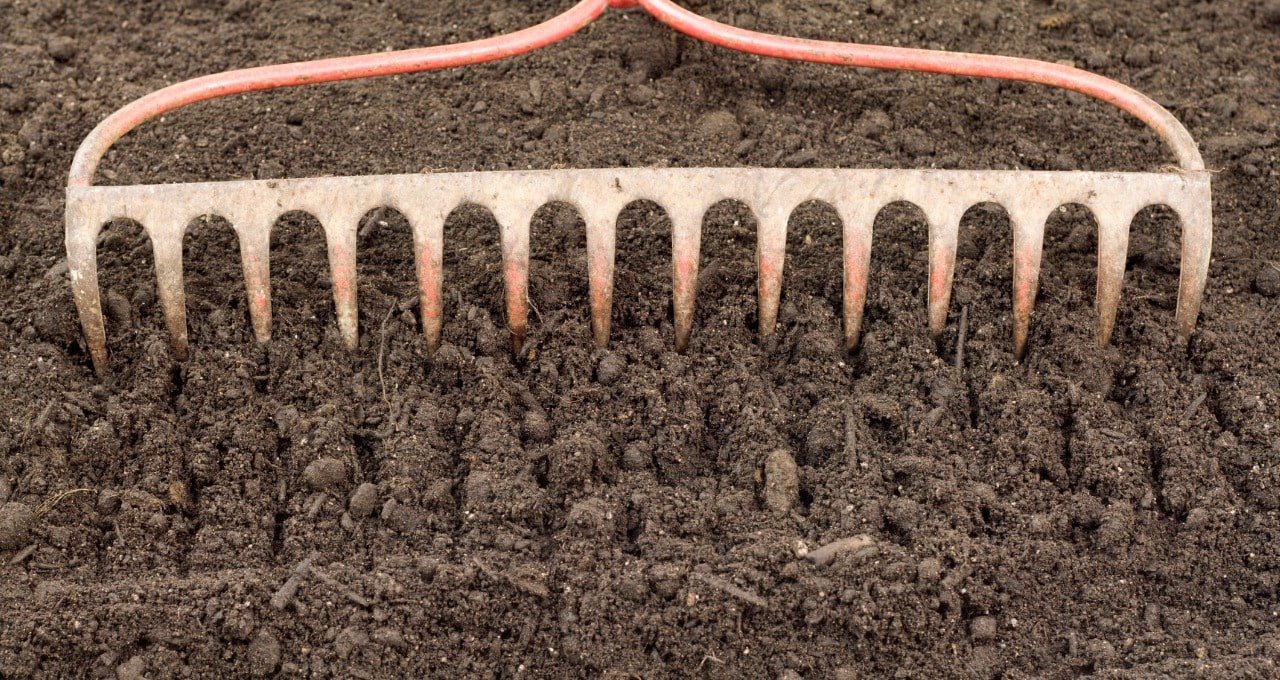
While paving slabs are inherently sturdy and durable, they still require extra support if they are going to last. As such, shed bases which use paving slabs require a reliable sub-base. This will give your slabs the foundation they need to withstand the weight of the shed and all its contents – without the worry of any long-term issues.
How to lay a sub-base for a paving slab shed base
- Using the 50mm pegs as your guide, add a layer of hardcore until it reaches the top of the pegs.
- Leaving the pegs where they are, compact the hardcore with your earth rammer or plate compactor.
- Cover the surface with a layer of sharp sand (approx. 10mm). This is called ‘blinding’ and is an essential part of building your sub-base as it fills any gaps in the hardcore.
- Lastly, rake the surface level and check it is even with a spirit level.
Laying your paving slabs
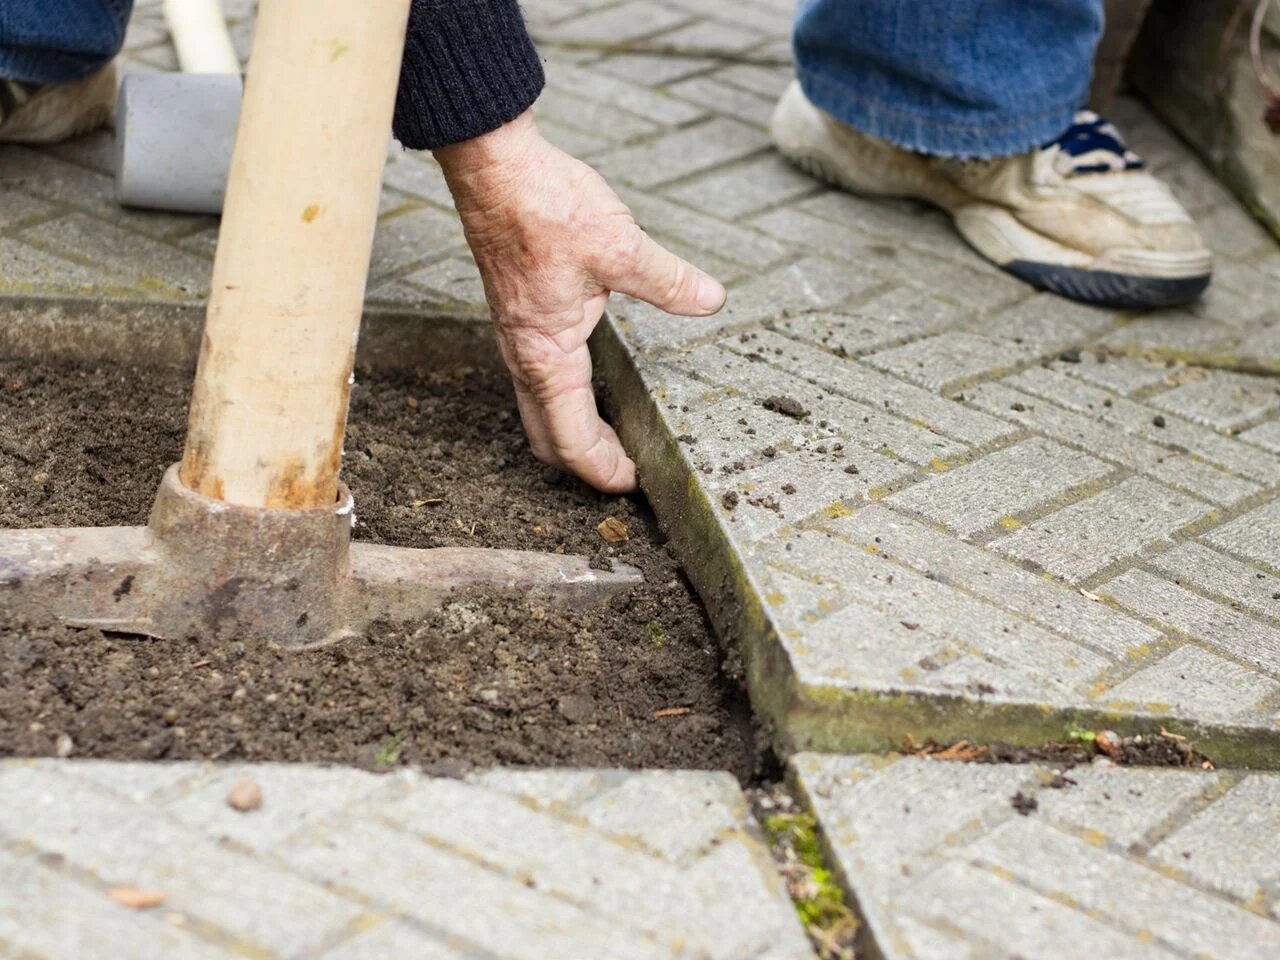
You now have a flat, neatly compacted area, ready to welcome your paving slabs. Great work! But wait – there’s more. Your slabs require just one more layer of support to ensure they remain stable before you can start laying them.
Read below for our steps on how to lay a mortar base for paving slabs (Steps 1-3) and how to lay paving slabs for a shed base (Steps 4-11):
- To begin, hammer wooden pegs into the four corners of your foundation so that 60mm is above the sub-base. These will be your final height markers for your paving slabs.
- Create your mortar as instructed in our How to Mix Mortar guide, ensuring it isn’t too runny.
- When that’s done, use a trowel to lay an even layer of approx. 30mm mortar in one corner, ready for your first paving slab (we recommend our value paving slabs for creating a sturdy shed base).
TOP TIP: Add mortar on a slab-by-slab basis; this ensures the mortar base remains wet and workable.
- Place your first paving slab on top of the mortar bed, ensuring it fits snugly in the corner with no gaps.
TOP TIP: Before laying, wet an old paintbrush with water and paint the back of your slabs. This creates a makeshift adhesive between paver and mortar, of which helps to keep your shed base in position.
- Use a mallet to gently tap the slab into place. If you’re using natural stone, be extra careful as you could crack the slab.
- You can now move onto replicating the same with the next slab, continuing to complete the first row with a 5mm-10mm gap between each. Keep checking with a spirit level as you go.
TOP TIP: If you notice your paving slab isn’t effortlessly bedding itself into the mortar, you will need to remove the slab and re-lay it. This is a tell-tale sign that your mortar is rocky, which might cause instability issues later down the line.
- With your first row complete, move onto the next row. Stretcher bond patterns are the most durable formation for shed bases, although stack bonds are easier to lay as you won’t need to cut them to size. (Note: Stretcher bond patterns are most commonly used for block paving but can also be used for paving slabs, albeit by utilising fewer rows.)
- Fill in the rest of the area row-by-row, consistently checking with a spirit level.
- Leave your mortar to set for at least 48 hours before installing your shed or walking on top. You want to keep the mortar dry, so cover your space with tarpaulin if rain is forecast.
- You can now fill in the recesses with jointing compound (sometimes called ‘paving grout’). You can do this by simply brushing it into the gaps and compacting. It should dry in a few hours.
- Finally, brush away any excess.
You’ve done it! You’ve finally mastered how to lay a shed base with paving slabs. The next step is to find the right materials for the job. Browse the Simply Paving range to select your materials or, for more advice about laying a paving shed base, just give us a call on 0800 032 6306 or start a live chat.


